
Introduction
In the world of photography, capturing stunning visuals has never been more accessible than it is today. With the advent of drones, photographers have gained an entirely new perspective, allowing them to explore landscapes, architecture, and moments from the skies. One technique that can take your drone photography to the next level is Auto Exposure Bracketing . In this blog post, we’ll delve into the world of AEB photography with drones, exploring what it is, why it’s useful, and how you can master it to create breath-taking shots.
What is Auto Exposure Bracketing (AEB)?
Auto Exposure Bracketing is a photography technique that involves capturing a series of photos of the same scene at different exposure settings. This technique allows photographers to obtain a range of images, each with varying levels of brightness. The series typically consists of three or more shots: one with normal exposure, one underexposed, and one overexposed. AEB is often used in situations where the dynamic range of the scene is too wide for a single exposure to capture all the details in both the highlights and shadows.

Why Use AEB with Drones?
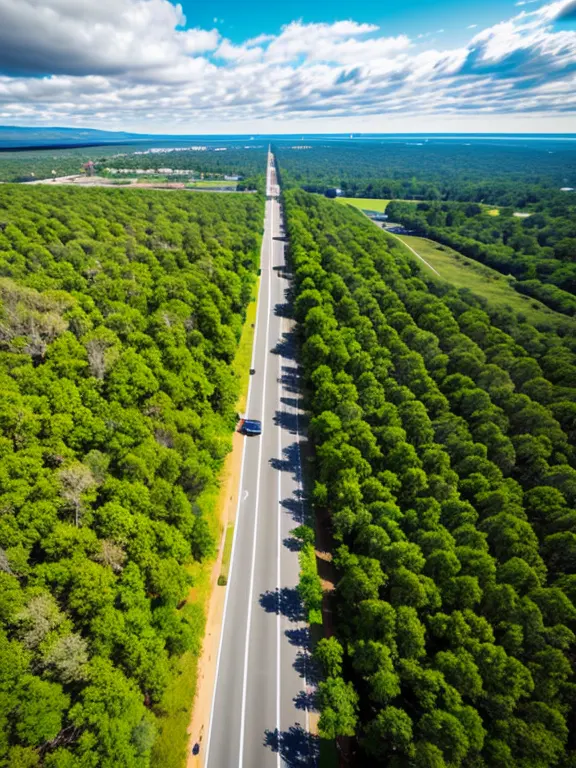
Drones have revolutionized photography by providing a unique vantage point that was previously difficult or impossible to achieve. However, this added perspective also brings challenges related to exposure. AEB can be particularly useful with drones due to the following reasons:
- Dynamic Range: AEB helps in situations where the sky is much brighter than the landscape or where shadows and highlights are extreme, common scenarios in aerial photography.
- Enhanced HDR: High Dynamic Range (HDR) images, created by merging AEB shots, result in photos that display a wider range of colours and tones, lending a more realistic look to your drone photos.
- Creativity: AEB gives you the freedom to experiment with different exposures and create artistic images with unique lighting effects.
Mastering AEB Photography with Your Drone
- Select AEB Mode: Most drones equipped with a camera offer an AEB mode. Access your drone’s settings and select the AEB mode to enable the feature.
- Set Exposure Bracketing Values: Determine the number of shots you want to take and the exposure increments between them. Common settings include ±1, ±2, or ±3 stops.
- Choose the Right Scene: AEB works best in scenes with a high dynamic range, such as sunrises, sunsets, or scenes with strong contrasts between light and dark areas.
- Stabilize Your Drone: Ensure your drone is stable before starting the AEB sequence. Use a tripod if possible to prevent any movement between shots.
- Manual vs. Auto Mode: Depending on your drone’s capabilities, you can manually adjust exposure settings for each shot or let the drone handle the settings automatically.
- Post-Processing: After capturing the AEB sequence, use photo editing software to merge the images into an HDR photo. Software like Adobe Lightroom, Photoshop, or specialized HDR software can help in this process.
- Refine and Experiment: Don’t be afraid to experiment with different exposure settings and bracketing options. Each scene is unique, so tweak your approach based on the results you want to achieve.
Conclusion
Auto Exposure Bracketing photography is a powerful technique that can elevate your drone photography to new heights. By harnessing the capabilities of AEB, you can capture breath-taking images with enhanced dynamic range and unparalleled detail. Whether you’re an amateur or a seasoned photographer, mastering AEB with your drone opens up a realm of creative possibilities, enabling you to tell captivating visual stories from a perspective few have the privilege to experience. So, grab your drone, set up AEB, and embark on a journey of photographic discovery that will forever transform the way you capture the world from above.